
How to Change Vegetable Chopper Blades Safely: Step-by-Step Guide
To change vegetable chopper blades safely, unlock the safety latch, press firmly only on the outer plastic housing frame from underneath, and lift the blade out. Align your new insert's plastic tabs with the lid slots, press down until it clicks, and re-engage the safety lock before slicing.
Pre-Swap Safety Verification Checklist
- Dry your hands thoroughly and clear the countertop of water or oil spills.
- Place the main catch tray container on a flat, solid, non-slip surface.
- Ensure the top chopper lid hinges are fully open and mechanically stable.
- Locate the primary safety lock toggle on your lid frame and switch it to the UNLOCKED position.
- Grasp the new blade insert strictly by its outer ABS plastic frame edges, keeping fingers clear of metal.
Step-by-Step Guide to Removing and Inserting Blades

Photo by Gary Barnes on Pexels
Step 1: Disengage the Safety Lock Mechanism
Locate the mechanical locking lever or slider on the side of your chopper lid. Toggle the safety lock into the UNLOCKED position. Never attempt to force an insert out while the locking pin is engaged, as this can crack the food-grade ABS housing or cause your fingers to slip.Step 2: Push Upward from the Plastic Underside
Reach beneath the open lid frame. Position both thumbs squarely on the outer plastic rim of the current blade cartridge. Apply smooth, upward pressure directly against the plastic border. The blade frame will unseat from its retaining tabs with a distinct release click. Lift the insert out by holding its outer ABS rim.Step 3: Align the Replacement Attachment
Select your desired attachment (such as a 11x11mm dicing grid, julienne slicer plate, or garlic grater). Inspect the frame to identify the alignment tabs. Slide the plastic alignment guides into the matching receiving slots on the upper lid housing.Step 4: Press Until You Hear the Retaining Click
Using your palms or thumbs placed exclusively on the ABS plastic frame corners, press down evenly until you hear and feel a firm click. This confirms that all four locking points are properly seated inside the lid frame.Step 5: Engage Safety Lock and Perform a Soft Stability Check
Slide the mechanical safety lock back into the LOCKED position. Before adding dense produce like sweet potatoes or onions, perform a soft push test on a soft food item like a cucumber slice or mushroom to verify zero frame play.Expert Tip: Leverage the Underside Plastic Rim, Not Brute Force
Precision-molded 15-in-1 kitchen tools feature tight manufacturing tolerances to ensure zero blade wobble during heavy dicing impact. If a blade insert feels stubborn during removal, never apply top-down pressure on the stainless steel grid. Instead, place the chopper base over a damp dish towel for stability, position your thumbs under the rear plastic frame corners, and push upward in a steady levering action. The plastic tab will flex slightly and pop out smoothly without requiring dangerous force.
Troubleshooting Stuck or Jammed Blade Inserts
| Jammed Condition | Probable Cause | Safe Corrective Action |
| --- | --- | --- |
| Blade insert won't push out from underneath | Safety lock slider is still partially engaged in the frame latch | Verify the lock toggle is pushed completely to UNLOCKED; inspect side latches visually before pushing. |
| Blade pops up on one side but remains stuck on the other | Uneven thumb pressure applied during bottom-up ejection | Place thumbs simultaneously on both left and right plastic frame edges and apply equal upward pressure. |
| Food fibers (e.g., onion skins) wedged into frame gaps | Dried vegetable starch or fiber binding the ABS housing tabs | Submerge the lid assembly in warm soapy water for 3 minutes, then use the provided cleaning claw to flush out fibers. |
| New insert won't seat flush in lid | Backward orientation or misaligned alignment tabs | Rotate the insert 180 degrees to ensure tab notches match the lid's keyway slots before pressing. |
When vegetable starches, tough skins, or misaligned frames prevent smooth blade swapping, follow these safe, safe-to-execute corrective protocols:
Key Safety Rules for Multi-Blade Chopper Sets
- Never press fingers directly on stainless steel cutting grids or slicer edges under any circumstance.
- Always handle interchangeable plates strictly by their reinforced ABS plastic outer casing.
- Verify the safety lock is fully toggled UNLOCKED before removal and LOCKED before chopping.
- Use the included cleaning claw or brush—never bare hands—to dislodge trapped vegetable scraps prior to swapping.
- Store extra sharp blade inserts inside dedicated organizer trays or catch containers to prevent drawer cuts.
Selecting the Right Blade Attachment for Your Prep Need
Choose blade attachments based on food density and desired cut size, matching the proper insertion angle and safety lock procedure.
Best choice for
- 11x11mm or 6x6mm Stainless Steel Dicing Grid — Snaps flush into 4-point lid frame, distributing downward impact forces evenly across the thick ABS border.
- Mandoline Slicer Plate Insert — Slides into side retention rails; must always be paired with the safety hand guard to protect fingers during slicing strokes.
- Julienne Shredder Plate or Garlic Grater — Locks securely into the top plate frame, allowing rapid back-and-forth movement while keeping hands safely elevated.
- Swapping blades on wet, slick kitchen countertops without a non-slip container base
- Attempting to force sweet potatoes through delicate fine grater plates intended only for garlic or ginger
- Traditional Chef Knife & Cutting Board — Slower and requires high manual prep skill; lacks uniform dicing consistency and built-in catch container convenience.
Essential Kitchen Tool for Safe, Speedier Meal Prep
Upgrade your kitchen prep routine with an all-in-one chopping system engineered specifically for maximum safety, speed, and versatility.
Blade Swap Mechanics: Dicing Grid vs. Mandoline Slicer Insert
| Feature / Aspect | Dicing Grid Attachment | Mandoline Slicer Plate |
| --- | --- | --- |
| Primary Cut Function | Uniform dicing & cubing (onions, potatoes) | Precision slicing & julienne (cucumbers, carrots) |
| Insertion Direction | Vertical top-down push into lid frame | Horizontal slide into side latch rails |
| Ejection Vector | Upward thumb pressure from underside rim | Backward pull on rear finger tab |
| Primary Safety Requirement | Safety lock engaged before lid press | Hand guard required during food sliding |
| Risk Points During Swap | Pressing center metal grid instead of ABS rim | Gripping raw metal slicing edge during insertion |
Understanding how different attachments fit into your multi-chopper lid prevents damage to plastic alignment tabs and guarantees quick swaps.
Visual Map: Safe Push Points vs. Danger Zones
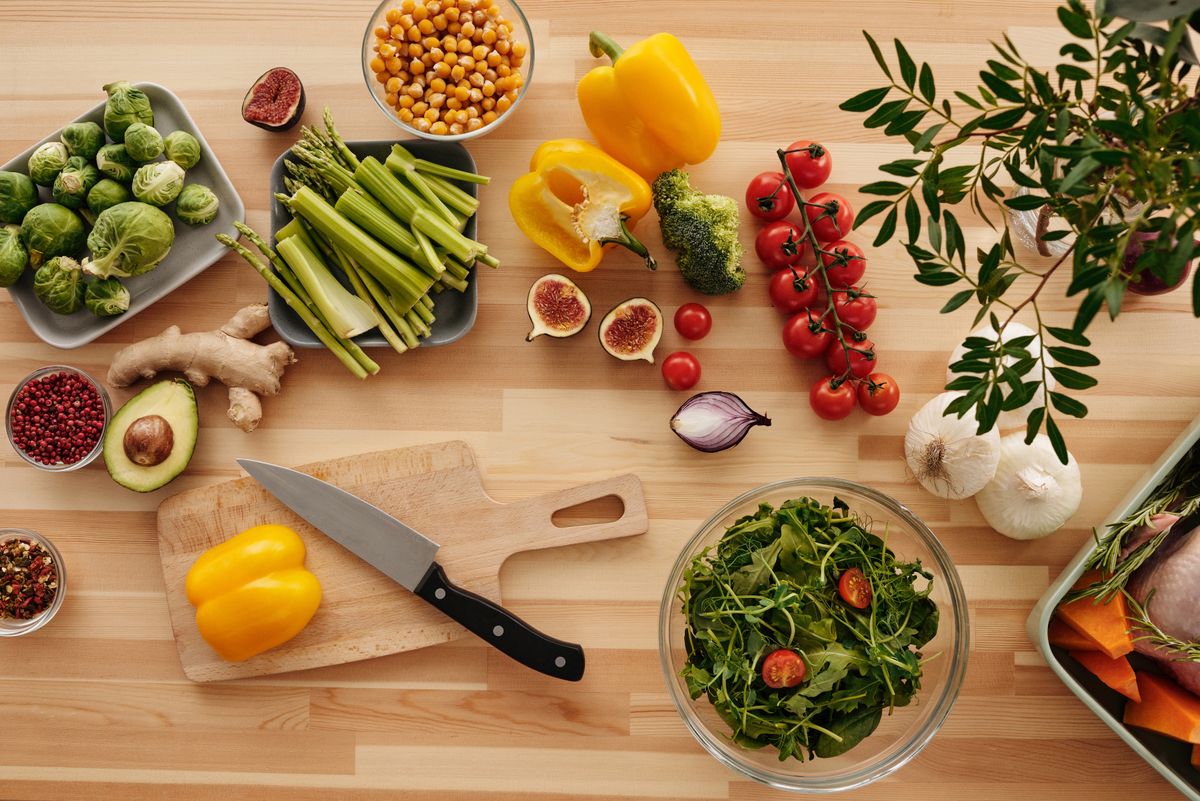
Photo by Vanessa Loring on Pexels
Refer to this visual reference guide before handling any blade insert to ensure your hands touch only non-cutting plastic surfaces.
Critical Swapping Mistakes That Cause Finger Injuries
Avoid these common mistakes to keep your hands protected and extend the life of your vegetable chopper:
Blade Care & Swapping Maintenance Timeline
- Before Every Use — Inspect ABS plastic frame tabs for cracks and test the safety lock toggle for smooth mechanical movement.
- Immediately After Use — Rinse blade inserts under cold water and brush away residual food fibers using the included cleaning claw before starches dry.
- Monthly / Every 10 Uses — Inspect stainless steel edges for rust or dulling; place components on top rack of dishwasher for thorough deep cleaning.
- Bi-Annually — Check plastic latch tolerances and apply a tiny drop of food-grade mineral oil to sliding safety lock channels if movement feels stiff.
Frequently Asked Questions About Blade Changing & Safety
Why is my vegetable chopper blade insert so hard to pop out?
Tight manufacturing tolerances ensure zero blade play during high-impact dicing. Food fibers or dried starch can lock the frame tightly. Press evenly from the underside plastic frame tabs rather than forcing it, or soak the lid in warm soapy water for 3 minutes first.
Where exactly should my fingers touch when changing the blade?
Place your thumbs exclusively on the outer ABS plastic housing rim. Keep all fingers at least 1 inch away from stainless steel grid lines or mandoline slicer edges at all times.
Should the safety lock be engaged when inserting a new blade?
No. The safety lock must be in the UNLOCKED position to receive the new insert. Once the plastic frame clicks securely into place, immediately switch the toggle back to LOCKED.
What if vegetable skins get stuck between the dicing blades during a swap?
Use the included cleaning claw or brush to push food debris through from the back of the blade before swapping. Never pick fibers out with bare fingers or sharp metal utensils.
Get fast answers to common home cook questions regarding blade changing, lock mechanism care, and safely managing tight-fitting inserts.
Immediate Action Steps After Swapping Your Blade
Your decision: Confirm your new blade insert is fully locked into the ABS housing and non-slip feet are securely set on the countertop.
Do this next: Perform a soft pressure test on a mushroom or cucumber before attempting dense batch prep like onions or sweet potatoes.
Related resource: Vegetable Chopper Blade Safety Guide: Swapping, Rust Prevention, and Maintenance
Vegetable Chopper Set of 15 (Pack) with Integrated Safety Lock System
Now that you have safely installed your desired blade attachment, verify system stability and enjoy rapid, safe meal prep!