Mandoline Slicer vs. Julienne Cutter: Which Attachment Do You Need for Slaws and Salads?
Should you use a flat mandoline slicer or a julienne cutter for your slaw or salad? Use the flat mandoline slicer for wide ribbons and crisp sheets (cabbage, radishes, cucumbers) to maximize surface area for heavy dressings. Use the julienne cutter for dense matchsticks (carrots, jicama, green apples) to add structural crunch without weeping liquid.
Mandoline Slicer vs. Julienne Blade Matrix
| Prep Scenario / Vegetable | Flat Mandoline Slicer Output | Julienne Cutter Output | Primary Failure Mode to Avoid | Recommended Attachment |
| --- | --- | --- | --- | --- |
| | | | | |
| | | | | |
| | | | | |
| | | | | |
| | | | | |
| | | | | |
Compare how flat mandoline blades and vertical julienne teeth process six common salad ingredients, including the primary failure mode to avoid for each vegetable scenario.
Trade-offs and Common Failure Modes of Each Attachment
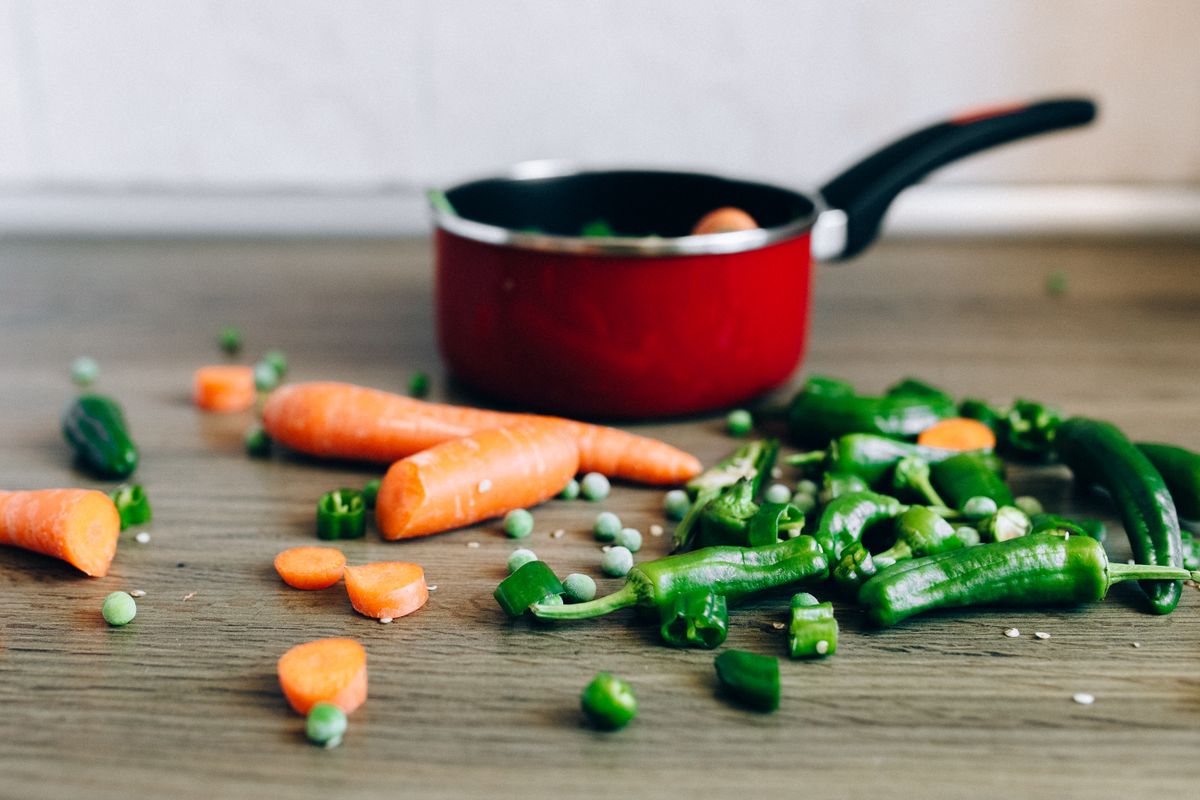
Photo by Nataliya Vaitkevich on Pexels
Pros
- Flat Mandoline Slicer creates wide, uniform ribbons that coat easily in mayo or cream dressings.
- Flat Mandoline Slicer slices layered vegetables like cabbage and red onions without tearing cell walls.
- Julienne Cutter produces crisp matchsticks that hold structural crunch under acidic vinaigrettes.
- Julienne Cutter processes dense root vegetables like carrots, beets, and jicama in a single downward pass.
- Flat Mandoline Failure Mode: Slicing watery veggies like cucumbers paper-thin can cause excess cell rupture and liquid weeping.
- Flat Mandoline Failure Mode: Round carrots sliced on flat blades yield slippery coins rather than tossable strands.
- Julienne Cutter Failure Mode: Layered leafy greens like cabbage snag on vertical teeth, causing shred tearing and blade jams.
- Julienne Cutter Failure Mode: Soft or overripe produce smashes into pulp inside the tooth channels instead of cutting cleanly.
Chef’s Tip: Preventing Vegetable Weeping & Blade Jamming
When prepping high-water ingredients like cucumbers or radishes on a flat mandoline slicer, salt your sliced vegetables directly in the large catch tray container and let them sit for 10 minutes. Drain the extracted liquid before adding dressing. This prevents your salad from turning watery in the refrigerator.
To eliminate blade jamming on the julienne cutter, always trim a flat anchor base on dense veggies like carrots or jicama. Mount the flat edge securely onto the safety hand guard prongs, and execute single, smooth downward strokes with continuous momentum. Never slide vegetables backward across vertical teeth.
Visual Flowchart: Selecting Your Salad Blade in 3 Questions
- Is your primary vegetable layered/leafy (cabbage, onion) or high-water (cucumber, radish)? → Yes: Select the Flat Mandoline Slicer Attachment for wide ribbons that hold dressing without leaf tearing.. No: Proceed to Question 2.
- Are you prepping dense root produce (carrots, jicama, beets, firm apples)? → Yes: Proceed to Question 3.. No: Select the Flat Mandoline Slicer Attachment for clean, paper-thin cross-sections.
- Is your dressing a light vinaigrette or citrus wash requiring structural crunch? → Yes: Select the Julienne Cutter Attachment to produce rigid matchsticks that hold liquid in suspension.. No: Select the Flat Mandoline Slicer Attachment if using heavy mayo or yogurt dressings.
Key Takeaways for Salad Prep
Keep these essential rules in mind whenever you set up your prep station:
Attachment Selection Breakdown
Select a flat mandoline slicer when you need thin, wide surface area for soft leaf folding or quick marinating. Choose a julienne cutter when dense veggies need to retain rigid structural crunch under light dressings.
Best choice for
- Flat Mandoline Slicer Attachment — Slices cabbage quarters into uniform ribbons without snagging or bruising delicate leaf structures.
- Julienne Cutter Attachment — Transforms hard roots into 2mm matchsticks that absorb sesame vinaigrette without getting soggy.
- Do not use the julienne cutter on soft, overripe cucumbers or tomatoes (will turn to mush).
- Do not use the flat mandoline slicer on whole unpeeled carrots if you want airy, tossable strands.
- Large Dicing Grid (15-in-1 Set) — Ideal for Mediterranean chopped salads where cubed tomatoes, cucumbers, and feta are preferred over strands.
The All-in-One Solution for Every Cut Style
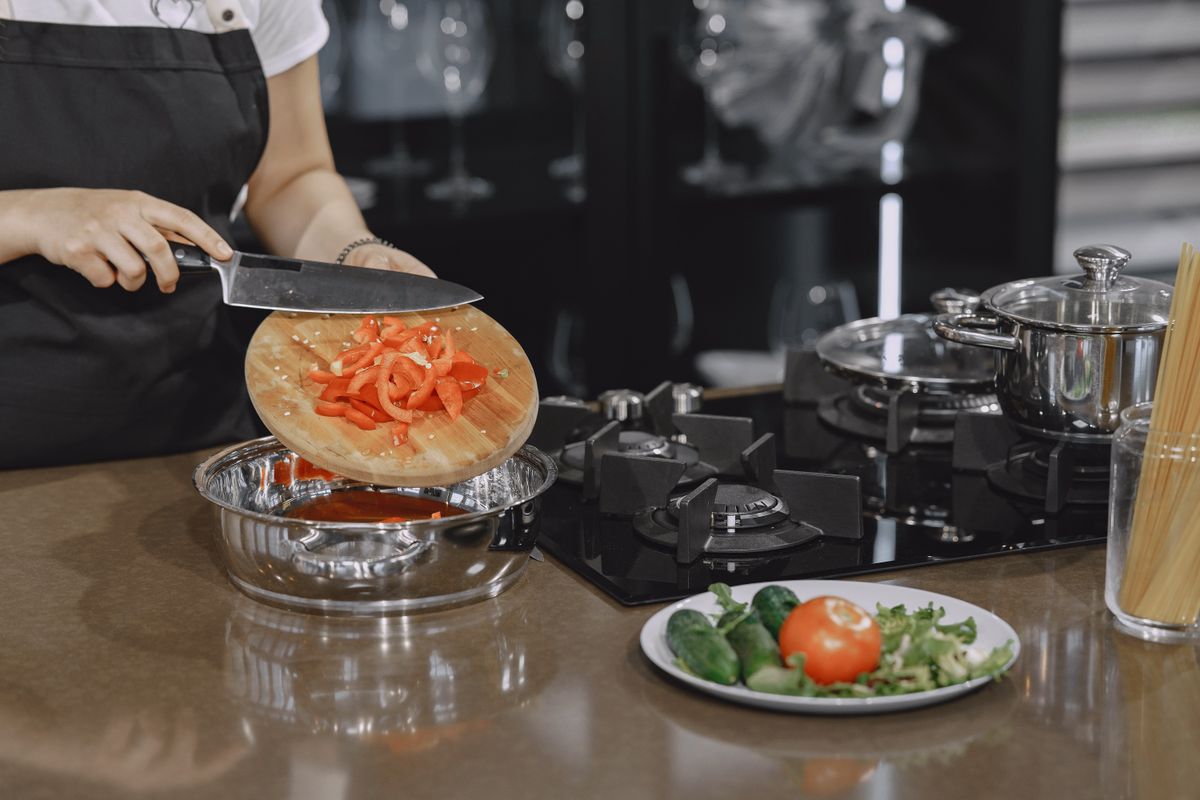
Photo by Gustavo Fring on Pexels
Upgrade your kitchen prep setup with the Vegetable Chopper Set of 15 (Pack). Featuring razor-sharp, rustproof stainless steel blades, a secure safety lock system, and durable BPA-free food-grade ABS construction, this versatile set handles every slaw and salad task in seconds.
- 15-in-1 Versatility: Includes flat mandoline slicer, julienne cutter, garlic grinder, egg separator, and peeler attachments.
- Spacious Catch Tray: Keeps your countertop clean and holds sliced produce directly for salting and draining.
- Complete Safety & Maintenance: Includes a protective hand guard, specialized cleaning brush, and cleaning blade. Top-rack dishwasher safe.
Real-World Prep Scenarios: Classic Coleslaw to Asian Crisp Salad
Scenario 1: Prepping 2 Pounds of Red & Green Cabbage for Game Day Slaw — Initial failure mode: Pushing cabbage wedges onto julienne teeth causes shredded leaves to jam the blade housing. Correction: Insert the flat mandoline slicer blade. Cut cabbage into quarter wedges with a flat root side, lock into the safety hand guard, and push in single downward strokes. Result: Flawless, feathery ribbons in under two minutes.
Scenario 2: Creating a Crisp Carrot-Ginger Salad for Weeknight Meal Prep — Initial failure mode: Slicing carrots on a flat blade produces hard round coins that slide off forks and sit in pooled dressing. Correction: Insert the stainless steel julienne cutter blade. Trim carrot ends, secure flat against hand guard prongs, and slice vertically with steady momentum. Result: Perfect matchstick strands that retain crunch for 5 days.
Scenario 3: Quick Pickled Cucumber & Red Onion Salad — Initial failure mode: Thick hand-knife slices absorb marinade slowly and unevenly. Correction: Insert the flat mandoline slicer. Slice cucumbers and onions into paper-thin translucent wafers directly into the catch tray container. Result: Instant absorption of vinegar brine with uniform texture.
See how selecting the right blade prevents common kitchen failures across popular salad recipes.
Culinary performance relies on structural balance: how vegetable geometry interacts with dressing weight and moisture release. When you slice a vegetable on a flat mandoline blade, you create wide cross-sectional ribbons. This maximizes surface area, allowing thick emulsions like mayonnaise, sour cream, or yogurt-based dressings to coat every millimeter without sliding off.
Conversely, a julienne cutter employs vertical cross-cutting teeth set directly ahead of a horizontal slicing edge. As the vegetable passes through, the teeth score parallel cuts before the blade shears the base, producing precise rectangular matchsticks (typically 2mm x 2mm). This rectangular geometry provides vertical strength, allowing dense roots like carrots, jicama, and daikon radishes to remain crisp under acidic vinaigrettes without weeping water or collapsing into soggy sheets.
Using the integrated safety hand guard and catch tray container on your 15-in-1 vegetable chopper ensures uniform thickness across every stroke. By matching your ingredient density to the appropriate blade geometry, you protect cell integrity, control liquid extraction, and deliver restaurant-quality slaws every time.
Frequently Asked Questions
Answers to common questions about operating mandoline slicers and julienne attachments safely.
How to Put Your Chopper Attachments to Work
Your decision: Choose the flat mandoline slicer blade for thin ribbon slaws coated in heavy dressings, or the julienne cutter blade for rigid matchstick salads in light vinaigrettes.
Do this next: Mount your chosen blade insert into the 15-in-1 chopper container lid, lock the safety hand guard onto your vegetable, and cut using smooth, single-pass strokes.
Related resource: Always clear stray fibers from julienne teeth using the included cleaning brush before placing blade inserts on the top rack of your dishwasher.
Upgrade your kitchen prep setup with the 15-in-1 Vegetable Chopper Set featuring stainless steel mandoline and julienne blades.
Ready to simplify your salad prep? Put your 15-in-1 chopper to work with these clear steps.
Continue Mastering Your Prep Set
Link to related internal guides.
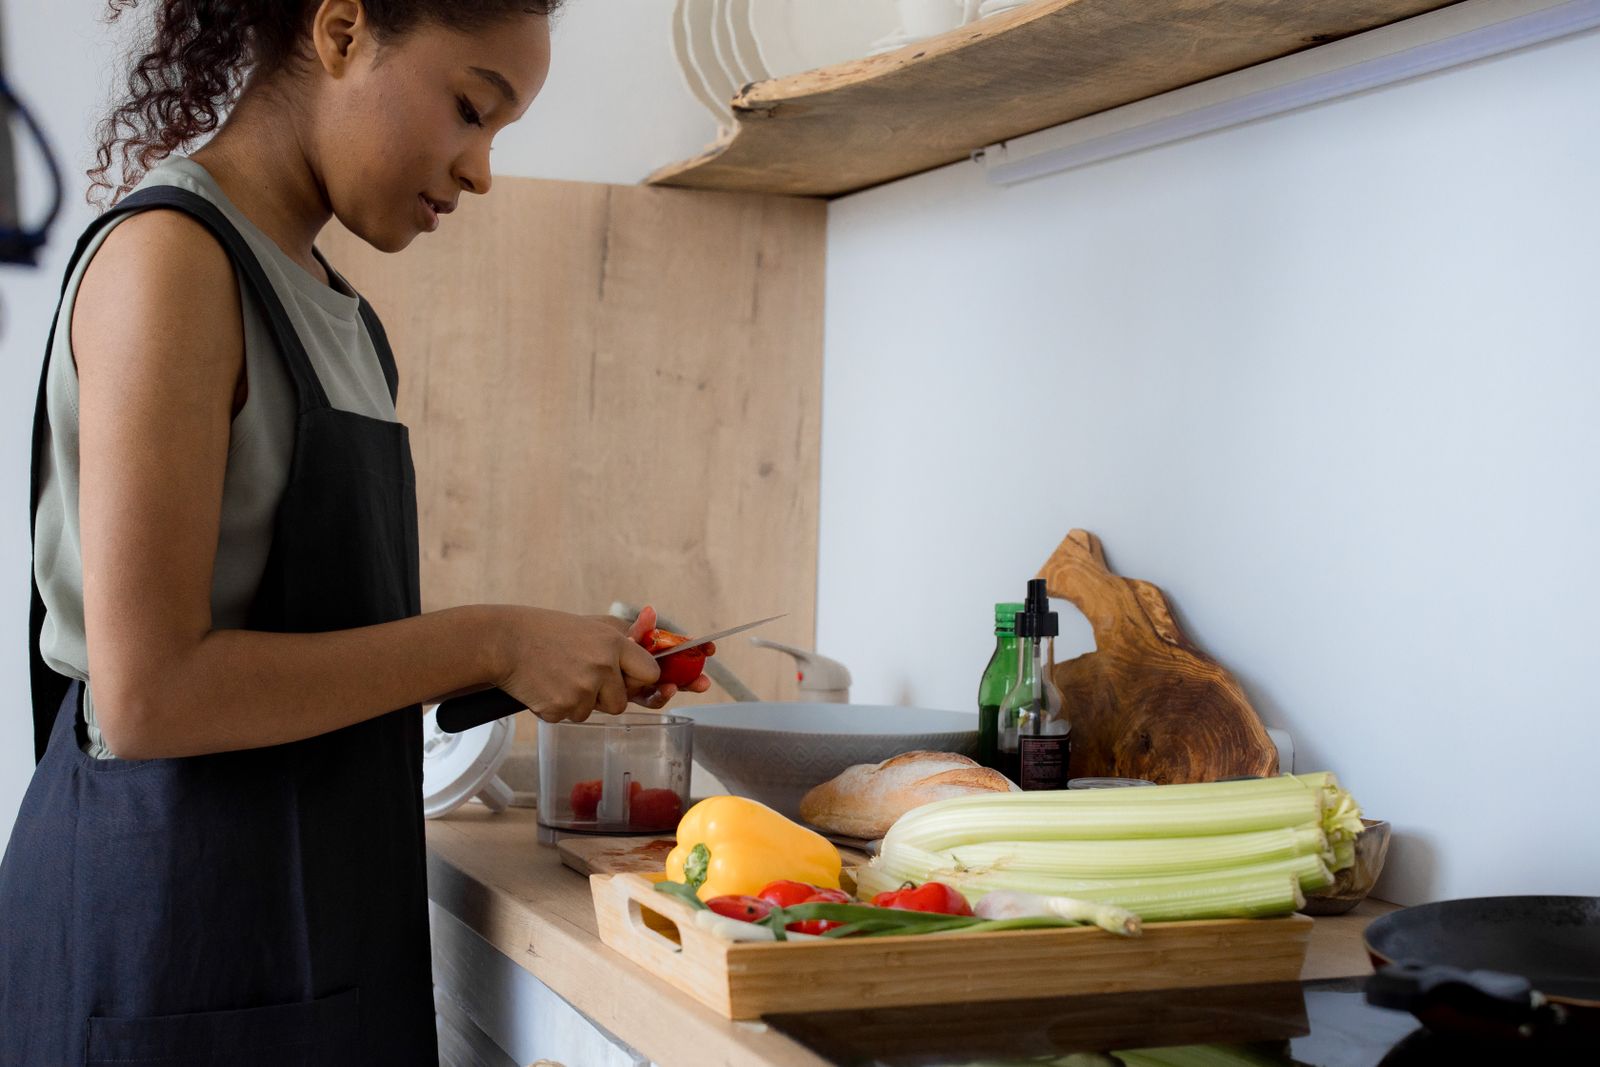
Cover photo by Ron Lach on Pexels.