
How to Clean Vegetable Chopper Blades Safely & Store (15-in-1 Guide)
Follow the 3-minute safety rule: Never touch grid blades with bare fingers. Immediately soak attachments in 110°F soapy water, use the included cleaning claw to push trapped debris out from the back of the grid, rinse thoroughly, and air-dry for 120 minutes before nesting into the catch tray.
Key Safety & Storage Takeaways
Maintaining a multi-function vegetable chopper comes down to precise numbers, safety barriers, and structured storage:
- 110°F Maximum Water Soak: Soaking grids in warm water at or below 110°F dissolves dense potato starches and sticky onion residue without thermally stress-warping BPA-free ABS plastic frames.
- 0 Bare-Finger Contact: Always dislodge trapped produce using the dedicated cleaning claw from the reverse side of the grid. Never slide a kitchen sponge or bare hand directly across razor-sharp 420 stainless steel edges.
- 120-Minute Vertical Drying: Moisture trapped in micro-crevices around blade housings triggers flash oxidation. Position grids vertically on a drying rack for 2 full hours prior to sealed storage.
- 15-Piece Compact Nesting: Packing attachments in the designated layer-by-layer sequence protects blade edges from dulling against each other while keeping your kitchen counters clutter-free.
Step-by-Step Batch Prep Cleaning Checklist
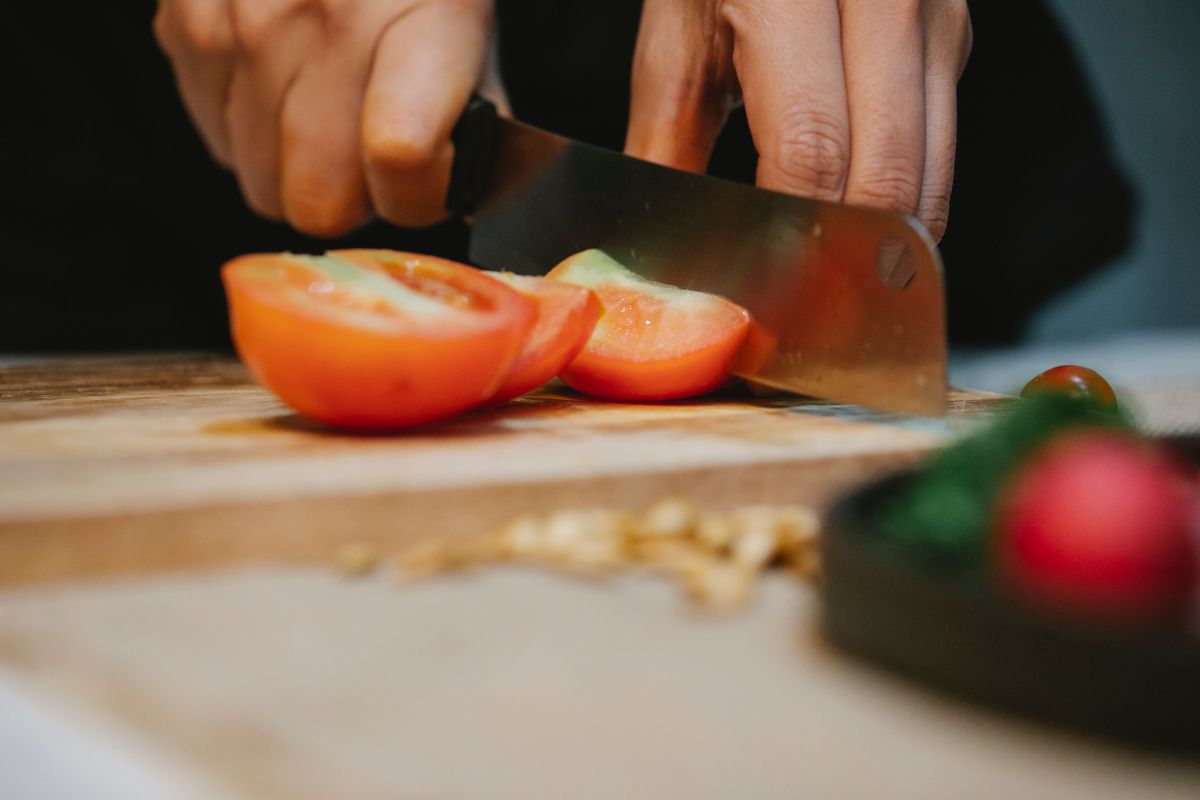
Photo by Klaus Nielsen on Pexels
- Phase 1: Immediate Rinsing — Flush grids under warm running water (100°F–110°F) within 3 minutes of prep completion.
- Phase 2: Debris Dislodging — Insert the teeth of the included cleaning claw into the back side of the dicing grid to push trapped skin/starch forward.
- Phase 3: Sanitizing Wash — Scrub grid frame edges using the long-handled bristle brush with mild dish soap. Never use sponges across blades.
- Phase 4: Air Drying — Place stainless steel grids vertically on a microfiber drying mat for a minimum of 120 minutes.
- Phase 5: Safe Storage — Lock safety latches, stack blades in the blade organizer, and nest all 15 pieces into the main catch tray.
Phase 1: Immediate Rinsing
- Flush within 180 seconds: Place used dicing grids, mandoline plates, and lid pushers under warm running tap water (100°F–110°F) immediately after meal prep to prevent vegetable starches from drying into cement-like bonds.
- Separate all 15 components: Unlock the top lid hinge and remove the catch tray container, small accessory inserts (garlic grinder, egg separator, peeler), and hand guard.
Phase 2: Debris Dislodging
Engage the cleaning claw: Insert the rigid teeth of the included cleaning claw into the back side* (flat plastic frame) of the dicing grid, pushing trapped onion skins or bell pepper fibers forward and out of the blades.- Clear the pusher block: Use the flat edge of the cleaning tool to comb through the square teeth of the upper lid pusher block to clear wedged celery strings.
Phase 3: Sanitizing Wash
- Brush scrub frame edges: Apply mild dish soap to a long-handled bristle brush. Scrub around the perimeter frame and plastic housing. Avoid pressing bristles down the direct length of the sharp steel edges.
- Top-rack dishwasher load: If using a dishwasher, place the clear acrylic catch tray, egg separator, garlic grinder, and hand guard on the top rack only. Keep water heating cycles under 150°F to prevent thermal warping.
Phase 4: Air Drying
- Vertical orientation: Stand stainless steel dicing grids and slicer inserts on their side edge over a clean microfiber towel or dish drying rack.
- Wait 120 minutes: Allow 2 hours of unobstructed airflow so internal weep holes in the handles and hinges drain completely.
Phase 5: Safe Storage & Nesting
- Cover exposed blades: Place dicing grids into their protective plastic storage case.
- Layer inside catch tray: Nest large slicer plates at the bottom, stack grid cases in the center, and place the hand guard, peeler, egg separator, and garlic grinder on top before locking the main lid.
Printable Quick-Reference Care Sheet
- Rinse within 3 minutes under 110°F water; do not let starches dry.
- Clear dicing grids back-to-front using ONLY the included cleaning claw.
- Never rub sponges or towels directly across stainless steel blade grids.
- Top-rack dishwasher safe for plastic parts; keep heat under 150°F.
- Dry vertically for 120 minutes to drain hinge and frame weep holes.
- Pre-wipe carrot pigments with 3 drops of food-grade mineral oil.
- Nest all 15 pieces into the 1.2L catch tray with protective covers on.
Pro Tip: Dealing with Sticky Starches & Skin Jams
When chopping high-starch potatoes or tough-skinned onions, skins can wrap around the grid intersections. Never attempt to poke them out with a metal kitchen knife or fork—this dulls the precision ground edge of 420 stainless steel and risks slippage cuts.
Instead, apply 3 to 4 drops of food-grade mineral oil to the pusher plate before chopping dense roots. The oil creates a hydrophobic barrier that prevents starch adhesion, making cleanup a simple 10-second rinse under the tap.
Troubleshooting Blade Issues: Rust, Stains, and Stuck Bits
| Problem / Symptom | Root Cause | Immediate Fix | Prevention Protocol |
| --- | --- | --- | --- |
| Orange or red stains on white ABS frame | Fat-soluble carotenoid pigments from carrots or beets binding to plastic | Rub affected area with 3-4 drops of food-grade mineral oil on a paper towel before soapy wash | Wipe frame with a light film of cooking oil prior to processing high-pigment roots |
| Water sloshing inside handle or lid hinge | Capillary action trapping rinse water in plastic drain crevices | Shake component firmly 5 times over sink and stand vertically on edge for 2 hours | Avoid full submersion of hollow handles in deep soak tanks |
| Microscopic brown rust spots on grid corner | Moisture trapped against stainless steel in humid, sealed storage | Soak in 1:4 diluted white vinegar for 3 minutes, scrub with soft brush, rinse and dry | Enforce 120-minute vertical air drying before packing into closed catch container |
| Jammed onion skin in pusher teeth block | Soft vegetable skin placed face-up against press block instead of blade grid | Use cleaning claw from the reverse side of pusher plate to pull fibers clear | Always place onions cut-side down against dicing blades before pressing |
Use this diagnostic guide to quickly resolve common cleanup, staining, and blade maintenance challenges.
Immediate Post-Prep Action Plan
Your decision: Choose top-rack dishwashing for speed during busy weeknights, or hand-brushing for maximum long-term blade edge sharpness.
Do this next: Flush all dicing grids under warm running water within 180 seconds of finishing your prep session.
- Read next: How to Prevent Rust on Stainless Steel Vegetable Chopper Blades
- Read next: Vegetable Chopper Safety 101: How to Use Hand Guards and Safety Locks
Vegetable Chopper Set of 15 — Includes specialized cleaning claw, long bristle brush, and protective blade organizer.
Take these quick actions right after finishing your cooking prep to keep your chopper in peak operational condition.
Essential Maintenance Tools & Recommended Equipment
Upgrade your kitchen prep arsenal with a heavy-duty, multi-functional tool designed for quick breakdown and safe cleaning.
Upgrade your prep efficiency safely! Check out our Vegetable Chopper Set of 15 featuring rustproof stainless steel blades, safety locks, and dedicated cleaning tools.
- 15-in-1 Multifunctional Versatility: Includes small/large dicing grids, mandoline slicer, julienne blades, cabbage shredder, garlic grinder, egg separator, and peeler.
- Built-in Safety Features: Features a secure safety lock mechanism, heavy-duty food-grade ABS frame, and an ergonomic hand guard to shield fingers during high-speed slicing.
- Cleaning Kit Included: Comes complete with a custom-molded cleaning claw and long bristle brush engineered to clear 100% of grid debris without direct blade contact.
Chopper Maintenance & Inspection Schedule

Photo by Jonathan Borba on Pexels
- After Every Batch Prep (100% of uses) — Dislodge food debris with cleaning claw, wash in warm soapy water (or top-rack dishwasher), and air-dry vertically for 120 minutes.
- Weekly (High-Volume Prep) — Inspect pusher teeth block for stray plastic burrs; check stainless steel blade welds for grid alignment and tightness.
- Monthly Deep Clean — Apply food-grade mineral oil to hinge pivots, treat plastic frames for carrot pigments, and check cleaning brush bristles for wear.
5 Dangerous Cleaning Mistakes That Cause Cuts & Rust
Avoid these five frequent kitchen errors to prevent hand injuries, blade corrosion, and warped plastic frames:
Post-Prep Clean Up Timeline (Under 10 Minutes)
- Minute 0–2: Disassembly — Pop open the top lid, unlock safety latches, and separate dicing grids, catch tray, and lid pusher block into the sink.
- Minute 2–4: Debris Dislodging — Run warm water over components. Use the cleaning claw to push trapped onion skin and vegetable fibers out from the back of the grid.
- Minute 4–7: Sanitizing Brush Wash — Scrub plastic frames and catch tray with a soap-filled bristle brush. Rinse thoroughly under 110°F running tap water.
- Minute 7–10: Rack Staging & Air Drying — Shake off excess water droplets and set all 15 parts vertically on a drying mat for 120 minutes of complete drying.
Frequently Asked Questions About Chopper Care
Get expert answers to the most common questions regarding vegetable chopper safety, cleaning, and maintenance.
Related Guides & Masterclass Lessons
- How to Clean Vegetable Chopper Blades Safely (15-in-1 Guide)
- How to Store and Organize 15-in-1 Vegetable Chopper Blades Safely
- How to Store Vegetable Chopper Blades Safely: Storage Solutions & Caddies
Summary & Next Steps
Your decision: Select hand brushing with warm soapy water for maximum blade edge retention, or top-rack dishwashing for quick weeknight cleanup.
Do this next: Flush all dicing grids with warm tap water immediately after finishing produce prep.
- Read next: How to Keep Chopper Blades Sharp and Rust-Free
- Read next: Vegetable Chopper Safety Tips & Hand Guard Guide
Vegetable Chopper Set of 15 — Complete with 420 stainless steel blades, safety lock container, and multi-purpose cleaning tools.
Maintaining your 15-in-1 vegetable chopper takes only minutes when you follow a structured, safety-first protocol. By dislodging debris with the included claw, avoiding bottom-rack dishwasher heat, and enforcing a 120-minute vertical dry time, your blades will remain sharp, stainless, and ready for your next batch prep session.
Cover photo by Teemu Matias on Pexels.