
How to Clean a Vegetable Chopper: Deep Cleaning & Stain Removal Guide
Follow the 300-second (5-minute) post-prep rule: rinse dicing grids immediately under 110°F warm water before vegetable starches dry. Always insert your cleaning comb from the smooth rear side of the grid to push stuck fibers outward away from razor-sharp edges. Treat stained ABS plastic with 1 teaspoon of vegetable oil before washing, and hand-dry stainless blades instantly to prevent micro-rust.
Key Maintenance & Cleaning Takeaways
- 300-Second Action Window: Rinsing dicing grids within 5 minutes of use prevents 95% of dried potato starch and onion skin jams.
- Rear-to-Front Extraction Strategy: Always push cleaning claws through the flat back of dicing grids to avoid dulling blades or tearing cleaning tools.
- Oil Dissolves Oil-Soluble Pigments: Remove stubborn orange beta-carotene stains on ABS plastic using 1 teaspoon of food-grade oil rather than abrasive scouring pads.
- 140°F Thermal Limit: Never wash food-grade ABS components on the bottom rack of a dishwasher where water temperatures exceed 150°F.
- Zero-Moisture Storage Rule: Dry 420-grade stainless steel blade inserts with a lint-free microfiber cloth immediately after washing to block micro-pitting.
Complete Step-by-Step Deep Cleaning Checklist
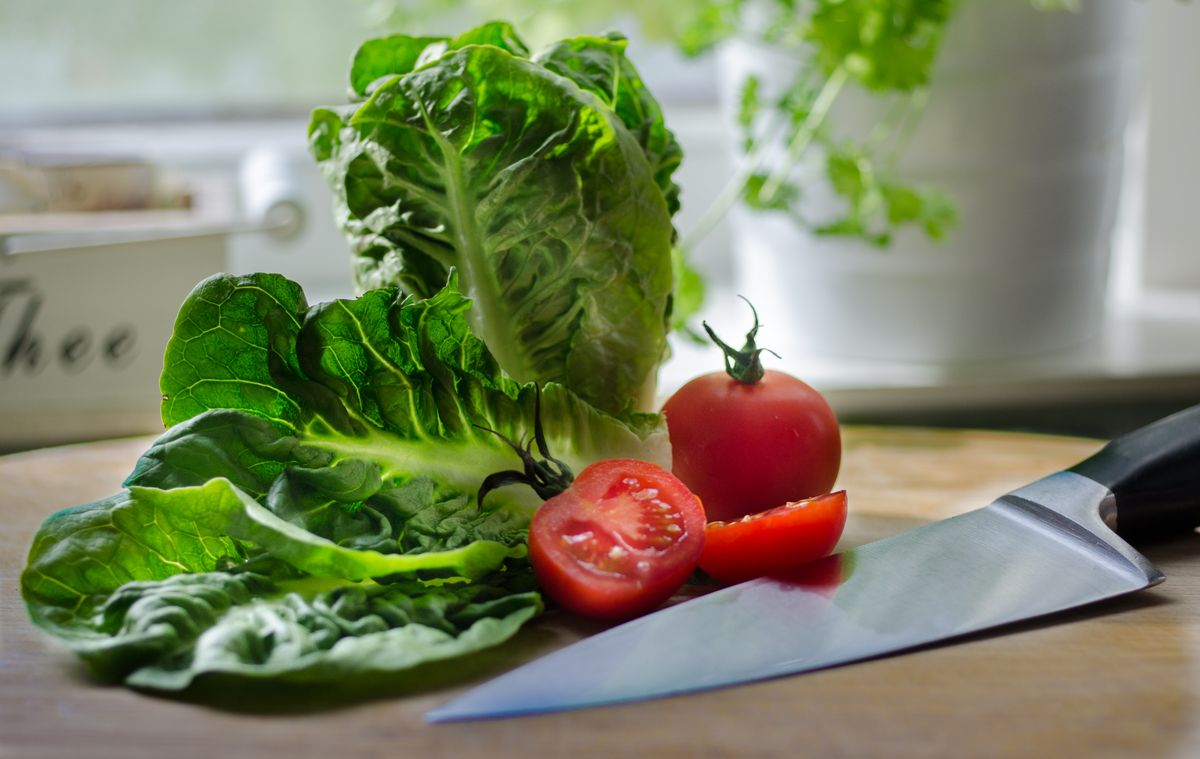
Photo by ClickerHappy on Pexels
- Rinse all 15 parts under 110°F warm tap water within 300 seconds (5 minutes) of completing meal prep.
- Disengage safety locks to separate the upper pusher plate, blade frame, and lower catch tray.
- Insert the specialized cleaning comb teeth from the SMOOTH REAR SIDE of the dicing grid, pushing trapped fibers OUTWARD.
- Apply 1 teaspoon of vegetable or mineral oil to a soft cloth and rub orange-stained ABS plastic areas for 60 seconds.
- Wash non-blade plastic parts in warm soapy water (115°F) using a non-abrasive microfiber sponge—never use steel wool.
- If using a dishwasher, place the catch container, lid, and attachment holders on the TOP RACK ONLY (<140°F cycle).
- Hand-dry stainless steel blades immediately by pressing a dry microfiber towel along the spine side of the blade.
- Inspect safety lock housing, hinge joints, and blade tracks for residual water before locking components into storage.
Printable Quick-Reference Care & Solution Guide
- SOAK RATIO FOR ODORS: 2 tbsp baking soda + 1 cup warm water (Soak plastic for 15 minutes).
- STAIN REMOVAL OIL COAT: 1 tsp canola or mineral oil wiped over carrot/tomato stains (Wait 3 minutes, then wash).
- GRID CLEANING DIRECTION: Always push debris from the BACK (flat side) to the FRONT (blade side).
- DISHWASHER SAFE LIMIT: Top rack only; maximum temperature 140°F (60°C); sanitize cycles disabled.
- BLADE DRYING PROTOCOL: Hand-wipe with microfiber within 120 seconds of washing to preserve edge integrity.
Expert Technique: Using Lipophilic Vegetable Oil for Carotene Stains
Many home cooks mistakenly reach for harsh bleach or abrasive green scouring pads when raw carrots or tomatoes leave bright orange-red stains on white ABS plastic. Scouring pads scratch the food-grade plastic, creating microscopic grooves where bacteria and future stains thrive.
The Chemical Secret: Beta-carotene (the pigment in carrots and sweet potatoes) and lycopene (in tomatoes) are lipophilic (oil-soluble) compounds, not water-soluble. Water and dish soap bounce right off them. To erase stains without damaging your plastic container:
Chopper Care Troubleshooting Matrix
| Issue / Symptom | Root Cause | Immediate Solution | Preventative Action |
| --- | --- | --- | --- |
| Stuck onion skin or celery fibers in 7mm dicing grid | Fibers jammed between razor grid intersections during high-downforce chopping | Align included cleaning comb with back grid notches and push straight through toward blade edge | Trim fibrous celery stalks into 2-inch pieces before dicing |
| Orange/Yellow tint on white ABS catch tray and blade frames | Oil-soluble beta-carotene binding to hydrophobic plastic polymers | Apply 1 tsp canola or mineral oil with paper towel, rub for 60s, then wash with mild soap | Rinse tray under cold water prior to cutting carrots to create a temporary fluid barrier |
| White chalky residue or water spots on stainless blades | Hard water mineral deposits (calcium/magnesium) left from air-drying | Wipe blades with a cloth dampened in 5% white distilled vinegar, then dry immediately | Always hand-dry blades with microfiber instead of air-drying in dish racks |
| Pusher plate safety lock sticky or stiff to press | Dried vegetable starch (potato/zucchini juice) accumulated inside spring joint | Submerge lock assembly in warm soapy water for 5 minutes; flush joint with cleaning brush bristles | Rinse hinge mechanism thoroughly immediately after handling starchy root vegetables |
| Strong garlic or onion odor lingering on plastic lid | Volatile sulfur compounds absorbed into porous outer polymer layers | Submerge plastic parts in a solution of 2 tbsp baking soda per 1 quart warm water for 15 mins | Wash components within 300 seconds of chopping pungent aromatics |
Match your specific cleaning dilemma with its root cause and safe, non-damaging solution below.
Upgrade Your Kitchen Prep & Maintenance Routine
Maintaining a clean kitchen starts with tools engineered for effortless disassembly and long-term durability. Simplify your daily cooking prep with hardware built to handle heavy dicing while remaining easy to wash.
Routine Vegetable Chopper Maintenance Schedule
- Immediate (After Every Use) — Perform 300-second warm water rinse. Push trapped debris from back of grid using comb. Hand-dry stainless steel blades.
- Weekly (Or After 5 Prep Sessions) — Inspect pusher teeth block for micro-debris. Perform vegetable oil rub down on any tinted plastic frames. Wash top-rack.
- Monthly Deep Clean — Soak catch container and plastic lids in baking soda solution (2 tbsp/quart water) for 20 minutes. Check safety locks.
- Quarterly Performance Check — Examine stainless steel blade edges under direct light for nicks. Verify smooth engagement of mandoline slide tracks.
5 Critical Cleaning Mistakes That Damage Chopper Blades & Plastics

Avoid these five frequent cleaning missteps to keep your chopper performing like new for years.
15-Minute Deep Clean Workflow Timeline
- Minute 0 - 2 — Disassemble all 15 parts. Separate catch tray, lid housing, pusher block, and active blade grid.
- Minute 2 - 5 — Run warm tap water over dicing grid. Insert cleaning comb from back side to push out trapped vegetable skins.
- Minute 5 - 8 — Apply 1 tsp cooking oil to paper towel and wipe down any orange carrot or tomato stains on white plastic frames.
- Minute 8 - 12 — Wash all non-metal components in warm soapy water using a soft bristle brush. Rinse under clear water.
- Minute 12 - 15 — Wipe down stainless blades with a clean microfiber cloth. Place parts on a dry drying mat in an upright rack.
Frequently Asked Questions About Chopper Care
Immediate Post-Cleaning Actions
Your decision: Determine whether your chopper requires standard 2-minute daily cleanup or a 15-minute oil-and-baking-soda deep stain treatment.
Do this next: Disassemble all 15 components, use the included cleaning comb from back to front on dicing grids, dry stainless blades thoroughly with a microfiber towel, and store components safely in their base organizer.
Related resource: https://mandolinechopper.comUpgrade your kitchen prep hardware to the 15-in-1 Vegetable Chopper Set, engineered with rustproof stainless blades, safety lock protection, and dedicated cleaning accessories for rapid maintenance.
Explore Related Maintenance & Blade Safety Guides
Provide contextually relevant internal links to complete the reading journey.
Cover photo by olia danilevich on Pexels.