
How to Prevent Rust on Stainless Steel Vegetable Chopper Blades
Should you throw away your vegetable chopper if you spot tiny brown dots on the blade grid, or is it just trapped moisture degrading the steel's protective layer? Stainless steel resists rust via a thin, passive chromium oxide layer. However, trapped water inside plastic housing joints and acidic vegetable juices break down this barrier, leading to surface oxidation. You can prevent rust by rinsing blades immediately after meal prep, avoiding high-alkaline dishwasher dry cycles, and completely air-drying grid crevices before storing your cutter.
Visual Moisture Trap & Drying Workflow
- Did you just finish chopping acidic foods (onions, tomatoes, lemons)? → Yes: Rinse immediately under warm running water within 5 minutes to prevent acid etching.. No: Proceed to standard cleaning with warm water and mild dish soap..
- Are you using an automated dishwasher? → Yes: Skip the heated dry cycle! High heat locks alkaline detergent films into plastic frame joints.. No: Use the provided cleaning brush to remove food debris from grid corners..
- Is water still trapped behind metal pin joints or perimeter ABS seams? → Yes: Shake the frame firmly over the sink, towel-blot, and blow warm air into joint gaps.. No: Store in an open rack for 2 hours before packing into an airtight catch tray..
Blade Oxidation & Surface Rust Diagnostics Matrix

| Physical Symptom | Primary Failure Mode | Root Cause | Immediate Corrective Action |
| --- | --- | --- | --- |
| Reddish-orange dots around stainless steel press pins | Pinhole Crevice Corrosion | Water retained inside plastic-to-metal press joints after air drying on flat surfaces. | Flick water out of joints, apply baking soda paste with a soft toothbrush, rinse, and towel-dry. |
| Dull, rainbow-colored film across dicing grid wires | Alkaline Detergent Deposition | High-pH dishwasher detergent bonding with hard water minerals during high-heat drying. | Soak grid for 3 minutes in diluted white vinegar (1:4 ratio), rinse with fresh water, and dry immediately. |
| Pitted dark specks along razor edge of slicing blade | Acidic Pitting Corrosion | Raw onion or citrus juices left sitting on blade surface for over 30 minutes post-prep. | Gently rub speck with a baking soda slurry; sharpen lightly if edge nicking is absent. |
| Orange streaks transferrable onto paper towel | Foreign Iron Transfer | Washing chopper blades alongside cast iron pans or non-stainless carbon steel knives. | Wipe away loose iron particles with microfiber cloth and mild soap; no structural metal damage has occurred. |
Identify the exact cause of surface spots, dulling, or discoloration on your 15-in-1 chopper blades to apply the correct fix immediately.
Essential Rust Prevention Routine Checklist
- Rinse blades immediately after cutting onions, tomatoes, or citrus fruits.
- Use the specialized cleaning comb to push trapped debris out of grid corners.
- Wash with mild dish soap and warm water; avoid bleach and heavy chlorine cleaners.
- Shake the plastic housing firmly over the sink to dislodge water trapped behind metal pins.
- Towel dry stainless steel edges thoroughly with a lint-free microfiber cloth.
- Air-dry in a warm, ventilated space for at least 2 hours before locking into storage containers.
Pro Tip: Passive Chromium Layer Protection & Forced-Air Drying
Stainless steel blades (typically 420 or 304 food-grade alloys) do not rust under normal conditions because chromium in the alloy reacts with oxygen to form an invisible, self-healing chromium oxide film. However, this barrier requires exposure to oxygen to maintain itself.
When water gets trapped inside the narrow channel between the plastic ABS frame and the steel blade pins, oxygen supply is cut off while moisture remains trapped. This creates an anaerobic micro-environment known as a crevice corrosion cell.
Expert Technique: After hand washing your chopper inserts, use a hand-held hair dryer on the 'cool' or low-warm setting for 15 seconds aimed directly at the corner joints. This simple step blows away micro-droplets trapped by surface tension that natural ambient air drying cannot reach.
Decision Path: Can This Rust Spot Be Restored or Is the Blade Damaged?
- Is the spot a surface deposit that wipes away with a baking soda paste? → Yes: Blade is 100% safe. Continue routine post-wash towel drying and storage.. No: Inspect the steel edge under bright light for deep pitting or physical flaking.
- Are there actual gouges, deep structural pits, or broken grid wires? → Yes: Discard the specific grid insert. Deep metal structural failure poses a food safety risk.. No: Perform a 5-minute diluted vinegar soak (1 part vinegar to 4 parts water), scrub gently, rinse, and dry thoroughly.
Immediate Action Plan for Blade Care
Your decision: Choose immediate hand-washing and thorough crevice-drying over soaking or automated dishwasher dry cycles.
Do this next: Rinse chopper blade inserts immediately after slicing acidic foods, brush out grid joints with the included cleaning brush, and store only when 100% dry.
- Read next: Is Your Veggie Chopper Dishwasher Safe? Cleaning & Maintenance FAQ
- Read next: Stainless Steel vs Ceramic Chopper Blades: Maintenance, Sharpening, and Longevity Compared
Upgrade to the Vegetable Chopper Set of 15 with premium rustproof stainless steel blades and built-in cleaning tools.
Take these concrete steps right now to extend the life of your meal prep tools.
Key Takeaways for Rust-Free Kitchen Cutters
- Moisture Traps Cause Corrosion: Water caught between the plastic frame and stainless steel pins is the #1 cause of rust spots.
- Rinse Acidic Residues Promptly: Onion, garlic, and tomato juices contain organic acids that eat through metal oxide protection.
- Never Soak Grid Inserts: Submerging multi-blade attachments in sink water drives fluid deep into tight housing seams.
- Avoid Harsh Scrubbers: Steel wool and abrasive scouring pads scratch the metal finish, opening tiny grooves where rust takes hold.
- Dry Before Storing: Never pack wet or damp blade attachments inside an airtight catch tray container.
Recommended Kitchen Tools for Easy Cleaning
Simplifying your meal prep requires high-performance tools designed with safety and easy maintenance in mind. Upgrade your kitchen setup with our complete dicing solution.
Cleaning & Drying Strategy Selection Guide
To prevent rust, avoid high-alkaline dishwasher cycles and never let food acids or moisture sit in multi-blade joints overnight.
Best choice for
- Immediate Warm Water Rinse + Microfiber Towel Blotting + Open Air-Rack Drying — Stops acidic onion juice and tomato seeds from eroding the chromium oxide layer.
- Baking Soda & Lemon Paste Scrub with Soft Nylon Brush — Lifts surface ferric oxide without scratching or dulling fine blade edges.
- Soaking blade insert frames in water basins overnight
- Using chlorine bleach, steel wool, or heavy abrasive scouring pads
- Storing damp blade frames inside airtight container bases
- Forced Warm-Air Drying (Hair Dryer on Cool/Warm setting) — Blows residual water out of tight plastic frame crevices that microfiber cloths cannot reach.
Drying Methods Side-by-Side: Rack Air-Drying vs. Microfiber vs. Heat Assisted
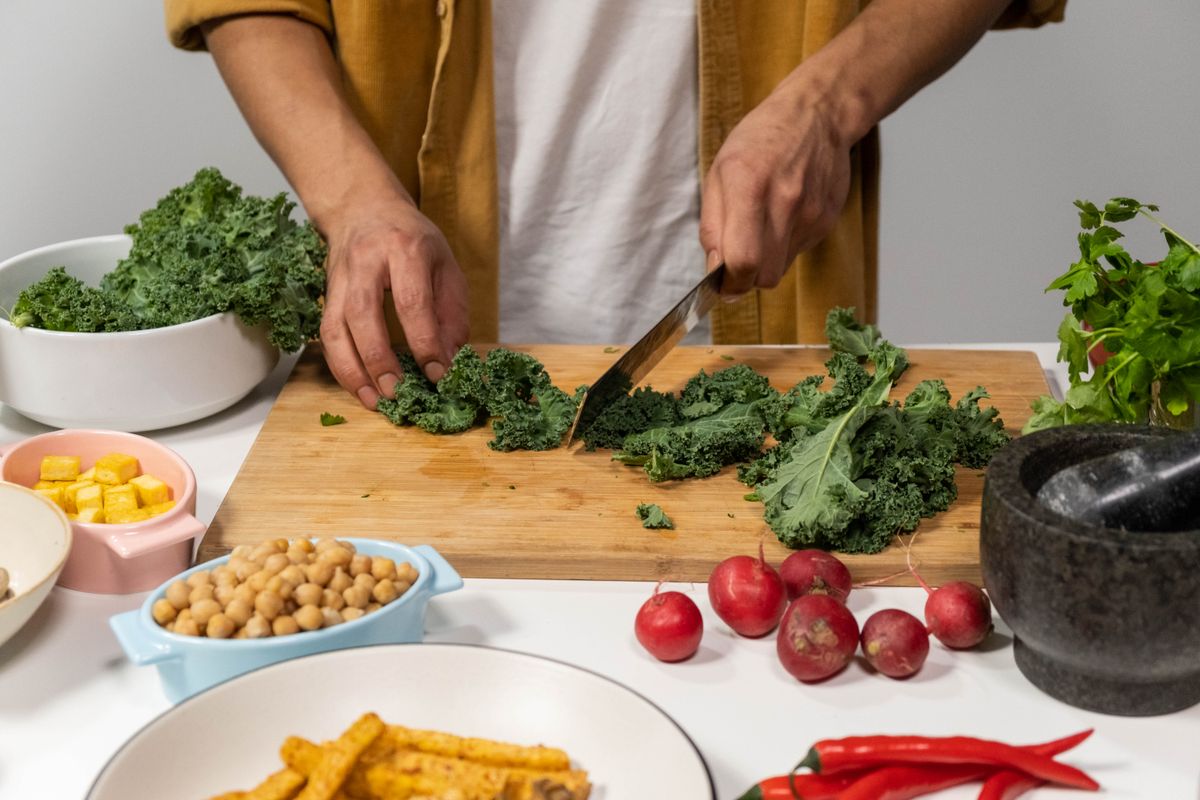
Photo by cottonbro studio on Pexels
| Drying Method | Crevice Moisture Elimination | Time Required | Risk of Joint Oxidation | Best Suited For |
| --- | --- | --- | --- | --- |
| Standard Dish Rack Air Drying | Moderate (Water lingers in pin joints) | 2 - 4 hours | Medium to High (in humid climates) | Single-blade mandoline inserts without deep plastic frames. |
| Microfiber Towel Blotting + Shake | High (Surface dry, requires firm shaking) | 1 - 2 minutes | Low | Daily quick meal prep cleaning. |
| Forced Air Drying (Cool Hair Dryer / Fan) | Very High (Clears internal frame gaps completely) | 30 seconds | Zero | Intricate 15-in-1 dicing grids and small garlic blades. |
| Heated Dishwasher Dry Cycle | Low (Bakes detergent film onto metal) | 45 - 60 minutes | High | Not recommended for fine precision steel blades. |
Compare how effective each drying method is at reaching hidden water pockets in multi-blade dicing grids.
Step-by-Step Restoration & Prevention Routine
Follow this step-by-step process to safely remove light surface oxidation and establish a permanent rust-free care routine for your 15-in-1 vegetable chopper.
Step 1: Immediate Post-Prep Cleaning
As soon as you finish dicing onions, peppers, or potatoes, separate the grid insert from the chopper base. Rinse under warm running water to flush away food acids before they dry.Step 2: Brush Out Trapped Debris
Use the cleaning brush or comb included with your chopper set to push food remnants out of the grid intersections. Always push from the flat back side toward the sharp blade edge to protect your fingers and avoid dulling the steel.Step 3: Spot-Treat Surface Oxidation (If Spots Are Present)
If you spot light orange dots:Step 4: Dislodge Trapped Water
Hold the plastic blade housing firmly and shake it vigorously over your sink 3 to 4 times. You will see hidden drops fly out from the press-fit pins and perimeter joints.Step 5: Blot Dry and Warm-Air Clear
Towel-dry all exposed metal surfaces with a clean microfiber cloth. For dicing grids, direct a hair dryer set on cool air across the blade intersections for 15 seconds.Step 6: Safe Ventilated Storage
Place cleaned inserts on a wire drying rack or open towel for at least 2 hours before packing them away into your catch tray container or blade storage box.Top 5 Mistakes That Cause Vegetable Chopper Rust
Avoid these five frequent missteps home cooks make when washing and storing multi-blade cutters:
Frequently Asked Questions About Chopper Blade Rust
Find clear answers to common maintenance and troubleshooting questions below.
Related Guides & Maintenance Resources
- How to Clean Vegetable Chopper Blades Safely Without Cuts or Dullness
- How to Store and Organize 15-in-1 Vegetable Chopper Blades Safely
- How to Use 15-in-1 Vegetable Chopper Blades: The Complete Master Reference Guide
Final Summary & Next Steps for Your Kitchen
Your decision: Adopt immediate hand rinsing and forced-air drying to maintain 100% rust-free blades.
Do this next: Rinse chopper blade inserts immediately after slicing acidic foods, brush out grid joints with the included cleaning brush, and store only when 100% dry.
- Read next: Is Your Veggie Chopper Dishwasher Safe? Cleaning & Maintenance FAQ
- Read next: Stainless Steel vs Ceramic Chopper Blades: Maintenance, Sharpening, and Longevity Compared
Upgrade to the Vegetable Chopper Set of 15 with premium rustproof stainless steel blades and built-in cleaning tools.
Protecting your investment in meal prep tools comes down to proper washing, thorough crevice drying, and ventilated storage.