How to Use a Mandoline Slicer Safely for Paper-Thin Homemade Potato Chips
Follow the 100% Guard Rule: 0 bare fingertips ever touch produce within 3 inches of the blade. Lock your mandoline onto a catch tray, slice a 1/2-inch flat base on your potato, pin it into the spiked hand guard, and push flat at a 45-degree downward angle across the 1mm setting.
5 Golden Rules of Injury-Free Mandoline Slicing
- 100% Guard Engagement: Never execute a downward stroke without the spiked safety guard firmly pinned into the produce.
- 1 Flat Base Cut: Slice 1/2 inch off the bottom of round potatoes to create a non-slip anchor for the guard's prongs.
- 45-Degree Vector: Push downward and forward at a continuous 45-degree angle rather than forcing produce straight down.
- 15 to 30-Minute Starch Bath: Submerge 1mm raw potato slices in ice water for 20 minutes to leach out surface amylose and prevent sticking.
- Dual-Lock Setup: Secure the mandoline frame onto the catch container's non-slip rubber rim before mounting any blade module.
Mandoline Slice Thickness & Prep Specifications
| Scenario / Target Cut | Slice Thickness (mm) | Starch Soak Time (mins) | Target Fry Temp (°F) | Yield per 0.5 lb Potato |
| --- | --- | --- | --- | --- |
| Scenario: Ultra-Thin Paper Chips | 1.0 mm | 20 - 30 mins | 350°F - 365°F | 75 - 85 chips |
| Scenario: Classic Dip Chips | 2.0 mm | 15 - 20 mins | 365°F - 375°F | 40 - 50 chips |
| Scenario: Thick Kettle Style | 3.0 mm | 10 - 15 mins | 375°F | 25 - 30 chips |
| Scenario: Matchstick Julienne Fry | 4.0 mm x 4.0 mm | 30 mins | 375°F (Double Fry) | 18 - 22 sticks |
Precision millimeter settings directly dictate starch leaching times, oil temperature requirements, and final crispness levels.
Anatomy & Safety Setup of the 15-in-1 Mandoline Slicer
Understanding the mechanical lock points between the catch tray, blade frame, and safety guard ensures zero physical movement during rapid slicing.
Mandoline Slicing Troubleshooting & Jam Prevention
| Scenario / Friction Symptom | Root Cause | Immediate Corrective Action | Prevention Protocol |
| --- | --- | --- | --- |
| Scenario: Potato slips off hand guard mid-stroke | Prongs engaged into rounded peel instead of flat flesh | Stop immediately. Re-trim 1/2 inch flat anchor face and sink prongs 100% deep. | Always slice off 1/2 inch of peel to create a flat face before driving guard prongs in. |
| Scenario: Uneven slice thickness (wedge shapes) | Unequal downward pressure applied across top of guard dome | Center palm directly over guard apex and apply equal downward force. | Maintain flat, centered palm pressure throughout the entire 45-degree sweep. |
| Scenario: Potato wedges stick/jam on blade edge | Starch buildup on stainless blade surface or slow stroke speed | Rinse blade under cold running water; resume with rapid, fluid stroke. | Keep potato surfaces moist and execute swift, decisive downward passes. |
| Scenario: Shredded edges on 1mm potato disks | Dull blade or dull stroke motion slowing down at contact point | Accelerate stroke velocity through the blade transition zone. | Use rustproof high-grade stainless steel blades and maintain 1.5 ft/sec pass speed. |
Address physical operational resistance immediately to prevent slipping, tearing, or hazardous force application.
Pre-Flight Safety Inspection Checklist
- Inspect mandoline frame for secure locking into the catch container top.
- Verify non-slip rubber feet are sitting firm on a clean, dry countertop.
- Ensure the 1mm stainless steel blade insert is snapped fully into place without play.
- Trim a flat 1/2-inch anchor surface on the bottom of each potato.
- Center and press the safety guard prongs fully into the rounded top of the potato.
- Test guard glide across upper runway before approaching the blade edge.
Chef's Technique: The Flattened Base Cut for Slippery Potatoes
Never press safety guard prongs directly into the slick, curved skin of an uncut potato. Slice off a 1/2-inch flat base perpendicular to the potato's length. Set the cut side flat on your cutting board, then press the hand guard prongs deep into the rounded top tail. This creates a parallel, balanced pushing surface that keeps 100% of the produce stable during 1mm slicing passes.
Next Steps in Your Prep Workflow
Your decision: Once you have mastered the safe hand guard grip and locked your mandoline onto the catch container, proceed to slice your potatoes at 1mm thickness.
Do this next: Submerge your 1mm slices immediately in an ice-water bath for 20 to 30 minutes to wash away excess surface starch before drying and frying.
Related resource: Explore our complete Blade Attachments & Cut Styles Pillar Guide for mastering fine graters, cabbage shredders, and dicing grids.
Upgrade your prep routine with the Vegetable Chopper Set of 15, featuring a precision mandoline slicer, non-slip catch tray, and heavy-duty safety hand guard.
Move seamlessly from cutting safe 1mm slices to soaking out starch and achieving maximum potato chip crispness.
Slicing Method Matrix: Mandoline vs. Knife vs. Food Processor

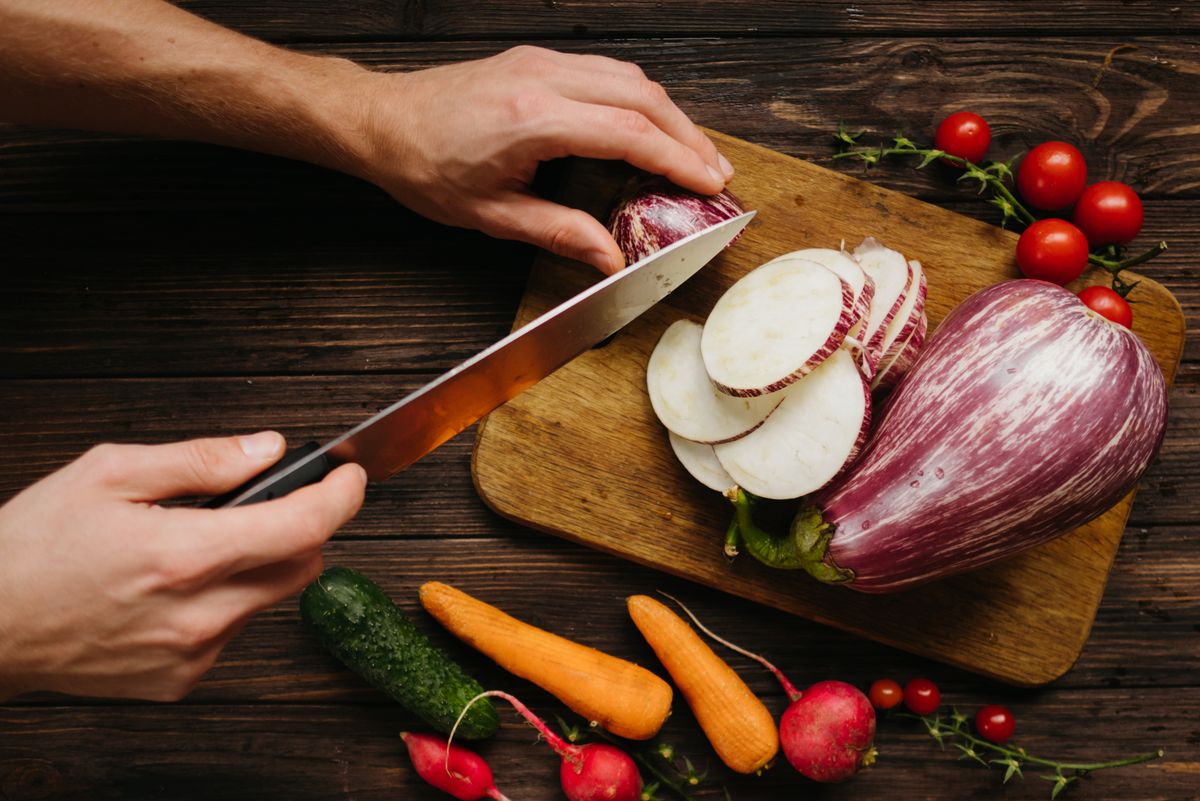
Photo by Gary Barnes on Pexels
For 1.0mm translucent potato chip slicing, a mandoline cutter set provides 100% thickness uniformity that chef knives cannot replicate, while offering faster setup and cleanup than electric food processors.
Best choice for
- Mandoline Slicer with Catch Tray — Locked height gauge guarantees identical slice thickness for even frying without burnt edges.
- 8-inch Chef Knife — Fast setup when precision thickness under 2mm is not required.
- Do not use a freehand chef knife if you require paper-thin translucency across 50+ continuous slices.
- Avoid large electric food processors when working with small 1-2 potato batches due to multi-part washing friction.
- Food Processor Slicing Disc — Fast for bulk quantities (10+ lbs), but produces slightly curved slices and requires heavy cleanup.
Recommended Tool: 15-in-1 Veggie Chopper & Mandoline Set
The ultimate solution for precise, safe, and lightning-fast kitchen prep. Features a built-in safety lock, rustproof stainless steel blades, non-slip catch tray, and dedicated hand guard protection.
Executing paper-thin potato chip slices requires pairing mechanical safety with culinary physics. When slicing at a 1.0mm calibration, razor-sharp stainless steel blades slice through cellular plant walls with minimal resistance—provided the produce approaches the cutting edge at the correct angle and velocity.
Step 1: Countertop Stability & Frame Assembly
Place the BPA-free catch container on a flat, dry countertop surface. Check that the rubberized non-slip base rim makes 100% contact with your counter. Insert the mandoline blade frame into the top housing slot until you hear a distinct physical click. This safety lock system prevents the frame from dislodging under downward pressure.Step 2: Potato Preparation & The 1/2-Inch Anchor Cut
Select medium Russet potatoes weighing roughly 0.5 lbs each. Russets contain 20% to 22% starch content, making them ideal for crisp chips. Using a chef knife, trim 1/2 inch off one end of the potato to form a flat, perpendicular anchor base. Trim a second shallow slice off the opposite tip to expose firm flesh.Step 3: Pinning the Safety Guard
Place the 1/2-inch flat anchor face flush down on a clean cutting board. Take the spiked hand guard and center its internal stainless steel prongs directly over the rounded top of the potato. Press down firmly with your palm until the guard's outer plastic shield sits within 1/4 inch of the potato body. The potato is now mechanically locked to the guard.Step 4: Executing the 45-Degree Downward Stroke
Hold the mandoline catch tray handle with your non-dominant hand. Place your dominant hand flat over the top dome of the hand guard. Position the loaded guard at the top of the mandoline runway. In 1 continuous, fluid motion, push the guard downward and forward across the blade at a 45-degree vector. Maintain steady downward pressure throughout the pass. Lift slightly on the return stroke, and repeat at a rhythm of roughly 1 stroke per second.Step 5: Cold Water Starch Removal
As slices drop into the large catch tray container, transfer them immediately into a bowl of ice water. Soaking 1mm potato slices for 20 to 30 minutes removes free amylose starch released from cut plant cells. This step prevents slices from fusing together during frying and guarantees a crisp crunch rather than a chewy bite.Potato Variety Performance for Mandoline Chip Slicing
| Scenario / Variety | Starch Content % | Blade Resistance | Crispness Score (1-10) | Recommended Preparation |
| --- | --- | --- | --- | --- |
| Scenario: Russet (Burbank / Norkotah) | 20% - 22% (High) | Low (Smooth glide) | 10 / 10 | 1.0mm slice, 20-min ice bath, 350°F fry |
| Scenario: Yukon Gold | 16% - 18% (Medium) | Moderate | 8 / 10 | 1.5mm slice, 15-min soak, 365°F fry |
| Scenario: Red Bliss / Wax Varieties | 12% - 14% (Low) | High (Sticky flesh) | 6 / 10 | 2.0mm slice, pan fry or air fry only |
| Scenario: Sweet Potato (Jewel / Garnet) | 15% + High Sugar | Very High (Dense flesh) | 7 / 10 | 1.5mm slice, cornstarch toss, 325°F fry |
Different potato varieties exhibit distinct starch densities and blade interaction dynamics.
4 High-Risk Mandoline Slicing Mistakes to Avoid
- Ditching the Guard for the Final 10%: Attempting to slice the last nub of a potato bare-handed is the #1 cause of thumb injuries. Always leave the final 1/4-inch nub attached to the guard or discard it into a soup prep container.
- Pushing Straight Down: Applying 90-degree vertical pressure jams the blade. Always push at a forward 45-degree vector across the blade length.
- Washing Sharp Blades with a Hand Sponge: Wiping a sponge over 1mm razor blades causes severe finger cuts. Always use the included long-handled cleaning brush under running water.
- Slicing on a Wet Countertop: Operating a mandoline without verifying that the catch tray's rubber feet are locked onto a bone-dry counter creates a severe slipping hazard.
Frequently Asked Questions About Mandoline Safety & Chip Prep
Detailed answers to essential questions regarding starch removal, potato selection, cut protection, and blade cleaning.