How to Keep Chopper Blades Sharp and Rust-Free for Years
To keep 420-grade stainless steel chopper blades sharp and rust-free for 5+ years, follow the 100% dry rule: rinse blade inserts within 5 minutes of meal prep, flash-dry using a microfiber towel or low-heat hairdryer within 2 minutes, and apply 2 drops of food-grade mineral oil across the grid edges before storing.
Core Maintenance Rules at a Glance
- 5-Minute Rinse Rule: Acidic juices from onions, tomatoes, and citrus begin etching high-carbon stainless steel within 15 minutes if left unwashed.
- 100% Dry Requirement: Air-drying leaves micro-droplets trapped in grid frame seams, causing oxidation spots within 48 hours.
- 2 Drops of Mineral Oil: Organic cooking oils turn rancid; application of pure USP food-grade mineral oil creates a hydrophobic seal against ambient moisture.
- Top-Rack Only: High-heat drying cycles on lower dishwasher racks warp polymer frame housings and dull razor-sharp bevels.
- Dedicated Cleaning Tools: Always use the included 15-in-1 cleaning claw or brush—never run fingers or steel wool along cutting edges.
Daily Post-Prep Blade Care Checklist

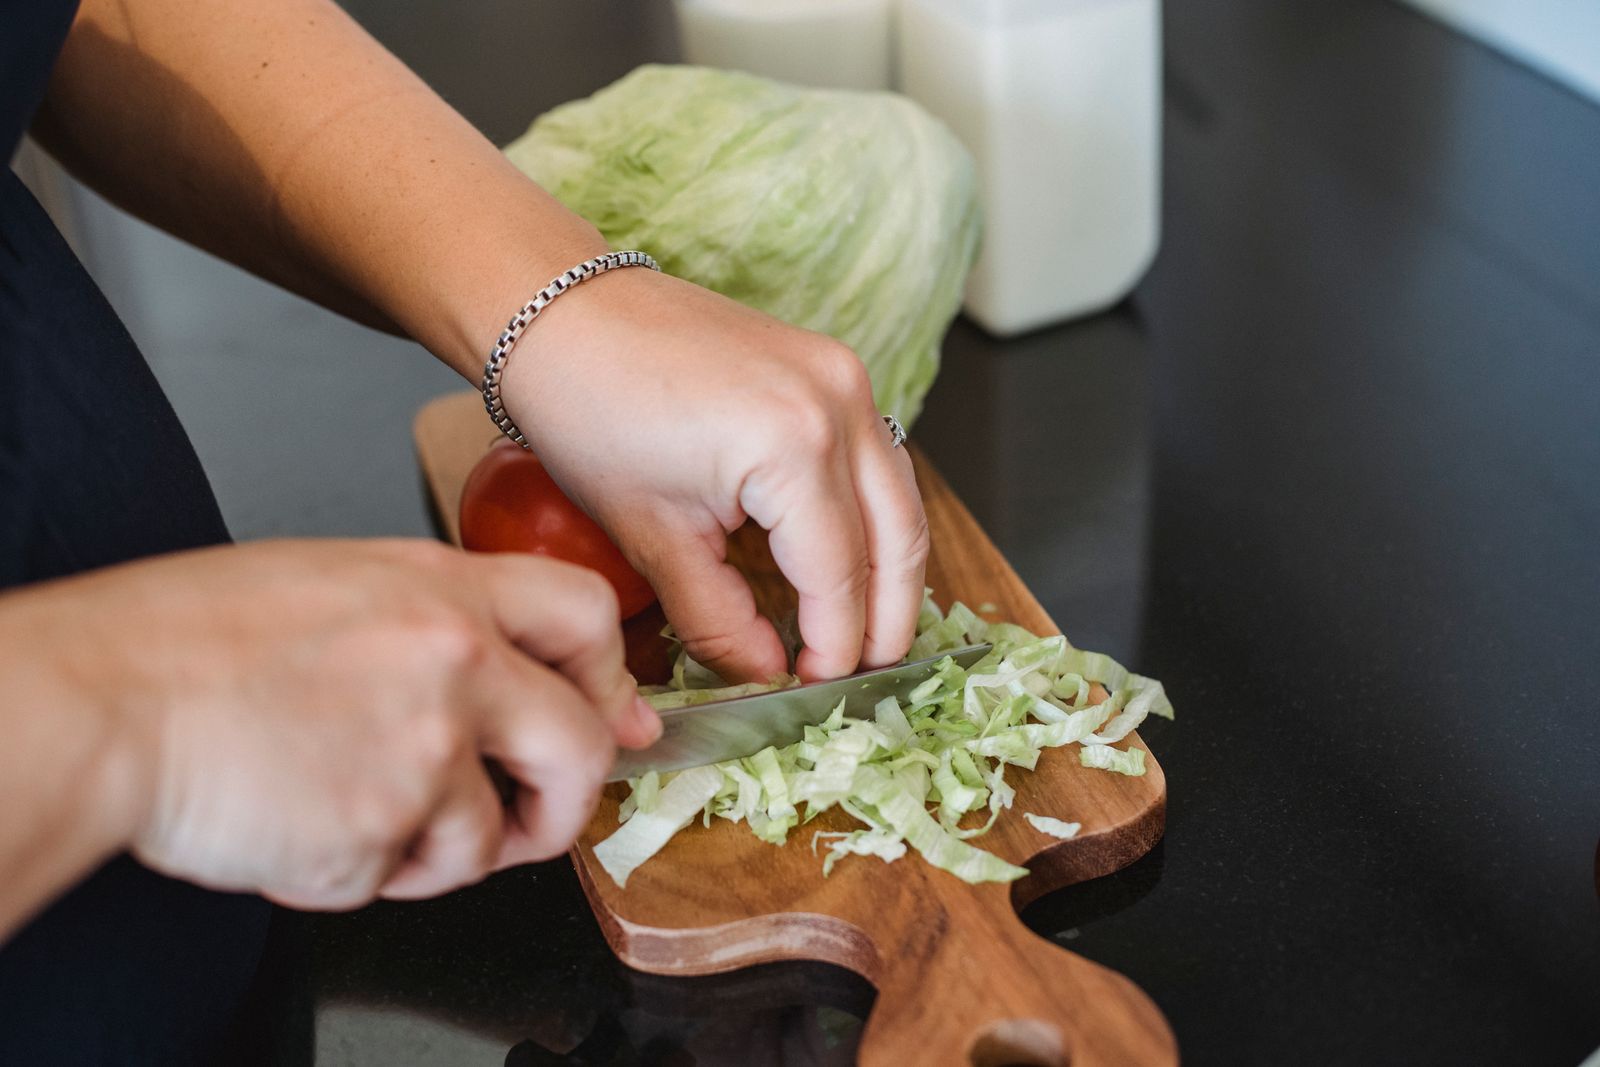
Photo by Leo Sacchi on Pexels
- Rinse immediately under warm tap water within 5 minutes of prep to remove acidic juices.
- Use the dedicated cleaning claw or brush to push out debris between grid teeth—never use fingers.
- Shake off excess droplets and towel-dry metal edges immediately with a microfiber cloth.
- Flash-dry intricate grid corners using warm ambient air or a low-heat hairdryer for 30 seconds.
- Apply 1-2 drops of food-grade mineral oil across the steel edges before storing in a dry catch tray.
Printable Kitchen Counter Care Reference
- RINSE IMMEDIATELY: Flush food residue within 5 minutes using warm running water.
- NO SOAKING: Never submerge stainless steel inserts in standing sink water.
- PUSH FROM BACK: Always push trapped food bits from the flat back side using the cleaning claw.
- FLASH-DRY COMPLETELY: Towel dry and blow warm air into corner joints for 30 seconds.
- OIL MONTHLY: Rub 2 drops of USP food-grade mineral oil on blade bevels for long-term storage.
Pro Tip: Flash-Drying Complex 15-in-1 Dicing Grids
Intricate dicing grids contain up to 49 individual cross-weld points where water droplets cling by surface tension. Standard dish-rack air drying fails because moisture remains trapped inside polymer seams for hours, creating localized micro-pitting rust.
To overcome this, use a 30-second warm hairdryer flash-dry technique. After hand-towel drying the exterior frame, direct warm air from 6 inches away straight through the grid mesh. The elevated airflow evaporates hidden water pockets in seconds, guaranteeing 100% dry metal surfaces before storage.
Blade Surface Troubleshooting Matrix: Spotting vs. Pitting
| Visual Symptom | Root Cause | Effect on Cutting | Recommended Fix | Prevention Strategy |
| --- | --- | --- | --- | --- |
| Chalky white haze or spots | Hard water calcium/magnesium deposits | None (cosmetic only) | Wipe with a 1:1 white vinegar and water solution, then rinse | Towel-dry immediately instead of air-drying |
| Orange/brown surface dusting | Surface oxidation from trapped moisture | Slight dragging on soft vegetable skins | Apply baking soda paste with a soft toothbrush along bevel angle | Flash-dry corner joints and apply 2 drops mineral oil |
| Black pinprick spots with texture | Deep acid etching/pitting corrosion | Blade tears produce; accelerated dulling | Irreversible steel structural damage; replace blade insert | Rinse onion and tomato juices within 5 minutes of use |
| Crushing vegetables instead of dicing | Dull cutting edge or misaligned grid frame | High manual pushing force required; uneven cuts | Inspect plastic frame for warping; upgrade to fresh blade insert | Avoid forcing frozen or hard pits (peach/mango) through dicing grid |
Diagnose blade conditions quickly to differentiate harmless mineral buildup from active surface corrosion.
Recommended Blade Maintenance Cadence
- Daily / After Each Use — Warm water rinse within 5 minutes, clean grid matrix with push-claw tool, complete towel dry, and flash-dry frame joints.
- Weekly (or after 5 batch preps) — Inspect cutting bevels under light for nicking or bent grid wires; wipe frames with food-grade mineral oil.
- Monthly / Seasonal Storage — Deep-clean catch tray and container accessories; apply 2-3 drops of mineral oil across all 15 blade attachments before packing away.
Essential Meal Prep Equipment
Simplify your kitchen routine and protect your hands with high-precision chopping tools built for durability and fast cleanup.
Upgrade Your Meal Prep Setup

Save over 30 minutes of daily prep time with our complete Vegetable Chopper Set of 15. Featuring ultra-sharp, rustproof stainless steel dicing grids, mandoline slicer inserts, a dedicated hand guard, garlic grinder, egg separator, and an extra-large catch container, it provides everything home cooks need for safe, uniform, and effortless prep work.
All components are BPA-free and feature specialized cleaning tools to keep your blades factory-sharp and 100% rust-free for years.
5 Mistakes That Ruin Stainless Chopper Blades
Avoid these common cleaning and storage errors that prematurely dull cutting edges or trigger rust.
Blade Lifespan Timeline: What to Expect Over 5 Years
- Day 1 - Month 6 — Factory razor sharpness. Vegetables cut cleanly with minimal downward pressure. Zero mineral buildup.
- Month 6 - Year 2 — Optimal cutting precision maintained. Regular mineral oil application keeps blade bevels slick and rust-free.
- Year 2 - Year 5 — Slight natural wear on high-frequency dicing grids. Routine baking soda spot cleaning removes hard-water deposits.
- 5+ Years — Blades remain fully operational without rust when dried immediately after every meal prep cycle.
Frequently Asked Questions About Chopper Blade Care
Answers to critical maintenance and safety questions for home cooks.
Your Next Steps for Safe Chopper Care
Your decision: Decide whether your current blades require a quick baking soda rust-spot treatment or a simple mineral oil reconditioning step.
Do this next: Incorporate the 2-minute post-prep rinse, brush, and dry routine into your meal prep workflow today.
- Read next: How to Deep Clean Your Vegetable Chopper
- Read next: Vegetable Chopper Safety 101
Upgrade to our 15-in-1 Vegetable Chopper Set featuring rustproof stainless steel inserts and specialized cleaning claw accessories.
Take immediate action today to extend the life of your kitchen prep tools.